No-Bake Cheesecake Pops Recipe
Introduction
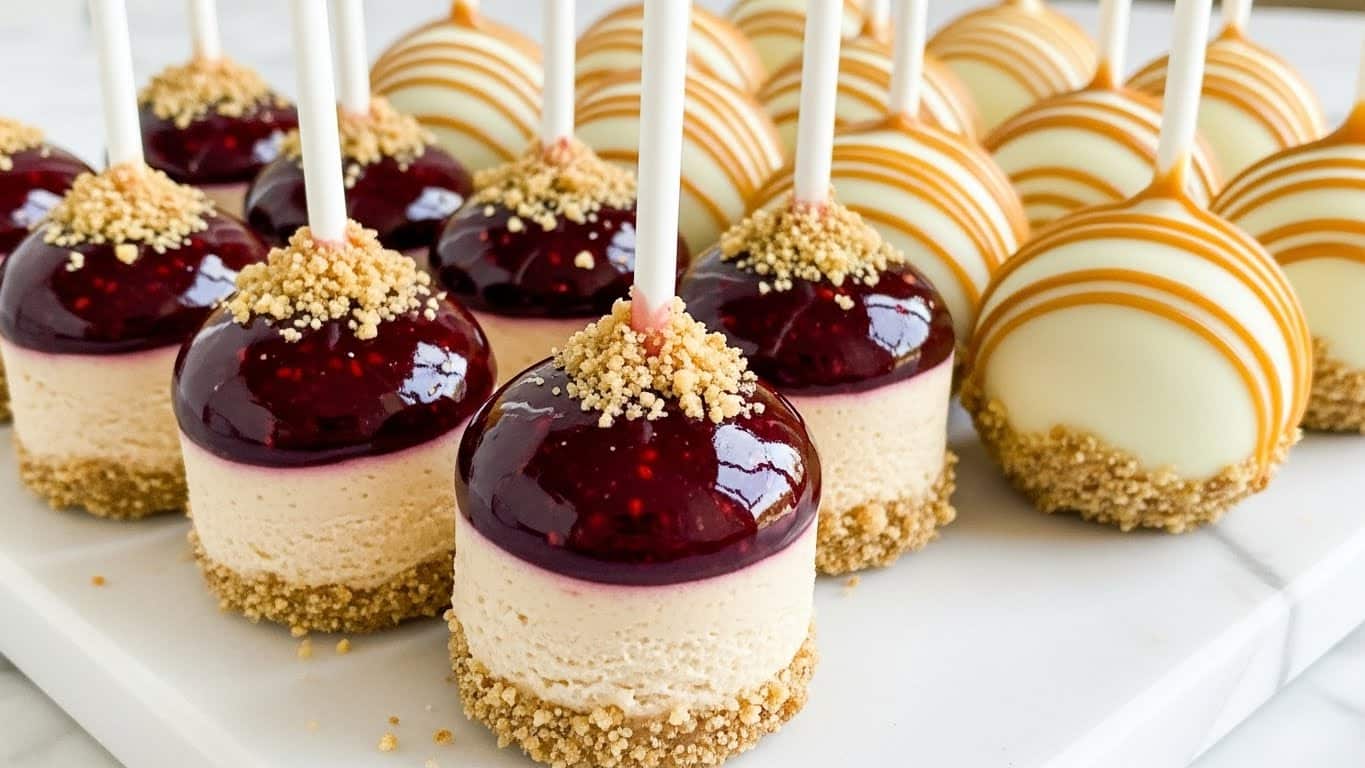
No-Bake Cheesecake Pops are a fun and delightful treat perfect for any occasion. These creamy, bite-sized cheesecake balls are coated in chocolate and decorated with your favorite toppings. They’re easy to make and sure to impress your guests!

Ingredients
- 8 oz cream cheese, softened
- 1 cup powdered sugar
- 1 tsp vanilla extract
- 1/2 cup whipped cream
- 1 cup graham cracker crumbs
- 8 oz chocolate or candy melts (for coating)
- Popsicle sticks
- Sprinkles
- Crushed nuts (pecans, almonds, or hazelnuts)
- Mini chocolate chips
- Fresh fruit (optional)
Instructions
- Step 1: Beat the softened cream cheese until smooth in a large bowl.
- Step 2: Gradually add the powdered sugar and vanilla extract, mixing well to combine.
- Step 3: Gently fold in the whipped cream to lighten the mixture and achieve a fluffy cheesecake texture.
- Step 4: Fold in the graham cracker crumbs until evenly distributed.
- Step 5: Scoop the cheesecake mixture into small balls using a cookie scoop or your hands. Place them on a parchment-lined tray.
- Step 6: Freeze the cheesecake balls for about 30 minutes until firm enough to handle.
- Step 7: Carefully insert a popsicle stick into each chilled cheesecake ball.
- Step 8: Melt the chocolate or candy melts according to package instructions.
- Step 9: Dip each cheesecake pop fully into the melted chocolate, letting the excess drip off.
- Step 10: While the coating is still wet, decorate with sprinkles, crushed nuts, mini chocolate chips, or fresh fruit.
- Step 11: Place the coated pops back on parchment paper and refrigerate until the chocolate is set.
Tips & Variations
- For added flavor, mix in lemon zest or a touch of cinnamon to the cheesecake mixture.
- Use white chocolate coating and add dried cranberries or coconut flakes for a different twist.
- Make sure the cheesecake balls are well chilled before dipping to prevent melting.
- Swap out graham cracker crumbs with crushed cookies like Oreos for a chocolatey version.
Storage
Store the cheesecake pops in an airtight container in the refrigerator for up to 3 days. For longer storage, freeze them in a sealed container for up to 2 weeks. When ready to enjoy, let frozen pops thaw in the refrigerator for about 15 minutes before serving.
How to Serve
Serve this delicious recipe with your favorite sides.
FAQs
Can I make these cheesecake pops ahead of time?
Yes, you can prepare and freeze the cheesecake pops in advance. Just be sure to store them in an airtight container to maintain freshness.
What if I don’t have popsicle sticks?
If you don’t have popsicle sticks, you can serve the cheesecake balls as bite-sized truffles without sticks. Use a fork or toothpick to dip them in chocolate and decorate as desired.
PrintNo-Bake Cheesecake Pops Recipe

Delightfully creamy no-bake cheesecake pops coated in rich melted chocolate and decorated with an assortment of toppings like sprinkles, nuts, and mini chocolate chips. These easy-to-make cheesecake treats are perfect for parties, snacks, or a fun dessert that requires no oven time.
- Prep Time: 15 minutes
- Cook Time: 0 minutes
- Total Time: 45 minutes
- Yield: 12 cheesecake pops 1x
- Category: Dessert
- Method: No-Cook
- Cuisine: American
Ingredients
Cheesecake Mixture
- 8 oz cream cheese, softened
- 1 cup powdered sugar
- 1 tsp vanilla extract
- 1/2 cup whipped cream
- 1 cup graham cracker crumbs
Coating & Toppings
- 8 oz chocolate or candy melts (for coating)
- Popsicle sticks
- Sprinkles
- Crushed nuts (pecans, almonds, or hazelnuts)
- Mini chocolate chips
- Fresh fruit (optional, for garnish or serving)
Instructions
- Prepare the Cheesecake Mixture: Beat the softened cream cheese until smooth using a mixer or whisk. Gradually add powdered sugar and vanilla extract, mixing well after each addition. Gently fold in the whipped cream to lighten the mixture, creating a fluffy and smooth cheesecake filling.
- Form the Cheesecake Pops: Using a cookie scoop or clean hands, shape the cheesecake mixture into small, uniform balls. Roll each ball in graham cracker crumbs to coat evenly, then place them on a parchment-lined tray. Freeze the cheesecake balls for about 30 minutes until they are firm enough to handle.
- Insert the Popsicle Sticks: Carefully insert a popsicle stick into the center of each chilled cheesecake ball. This will help with dipping and give the classic pop appearance. Return them to the freezer if they soften.
- Melt the Chocolate Coating: Melt the chocolate or candy melts according to the package instructions, either using a microwave in short bursts or a double boiler. Stir until smooth and ready for dipping.
- Dip the Cheesecake Pops: Dip each cheesecake ball fully into the melted chocolate coating, allowing any excess chocolate to drip off. Be sure to coat evenly for a smooth finish.
- Add Toppings and Let Set: Immediately after dipping and while the chocolate is still wet, sprinkle your choice of toppings such as crushed nuts, sprinkles, or mini chocolate chips over the pops. Place them back on the parchment-lined tray and refrigerate or freeze until the coating is fully set and firm.
- Serve and Enjoy: Once the chocolate coating has hardened, your no-bake cheesecake pops are ready to be served. Optionally, garnish with fresh fruit on the side for a refreshing contrast.
Notes
- Make sure the cream cheese is softened to room temperature for easier mixing and a smoother texture.
- Chilling the cheesecake balls before dipping prevents them from breaking or melting in the warm chocolate.
- You can customize the toppings to suit your taste or theme of the occasion.
- Store leftover cheesecake pops in an airtight container in the refrigerator for up to 3 days or freeze for longer storage.
- If you do not have whipped cream, you can substitute with stabilized whipped topping or omit, but the texture may be slightly denser.
Keywords: no-bake cheesecake pops, cheesecake balls, chocolate dipped cheesecake, easy cheesecake recipes, party desserts, no bake desserts