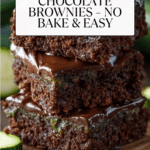
Raw Chocolate Brownies Recipe
Introduction
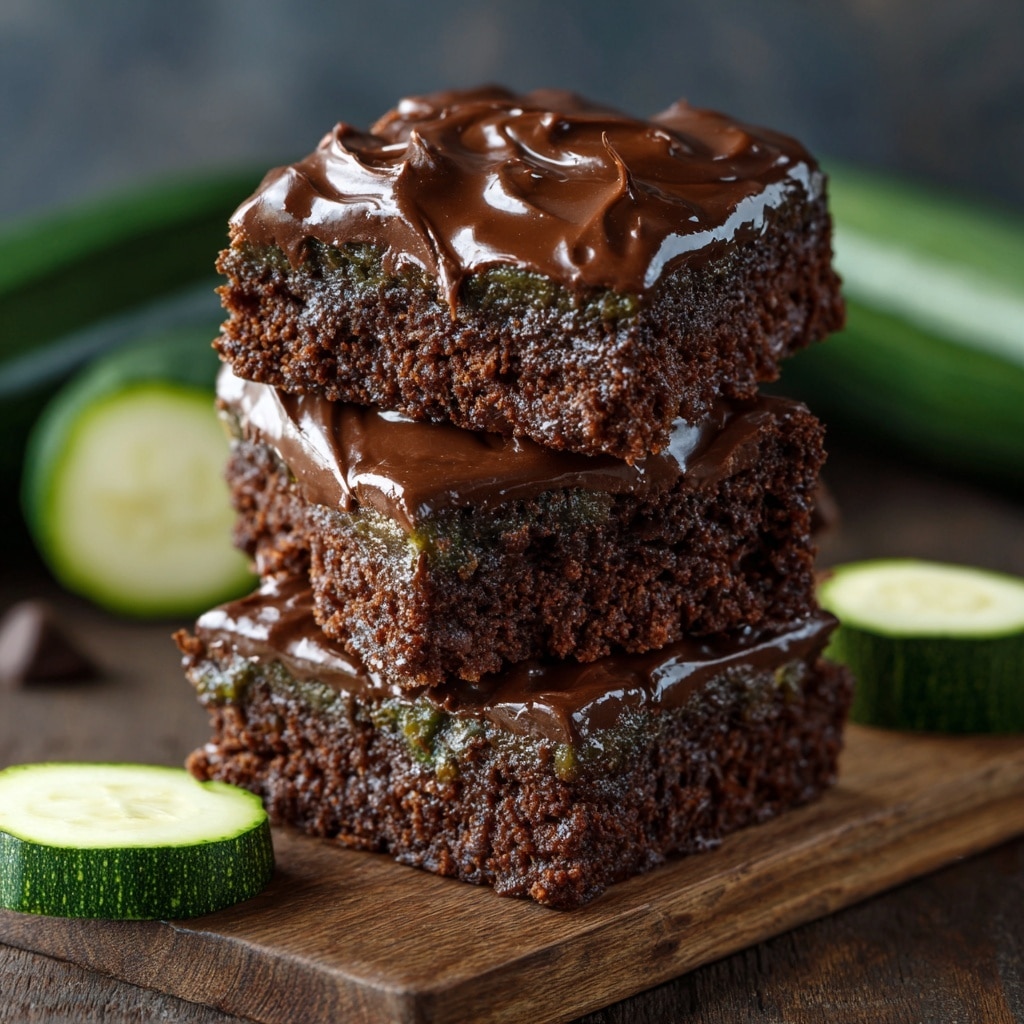
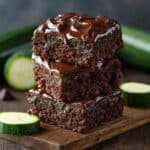
These raw chocolate brownies are a deliciously rich and healthy treat that requires no baking. Made with simple, whole ingredients like walnuts and medjool dates, they offer a fudgy texture and intense chocolate flavor that’s perfect for satisfying your sweet tooth guilt-free.
Ingredients
- 2 cups raw unsalted walnuts
- 2 cups packed pitted medjool dates
- 1/3 cup walnuts (optional, for walnut chunks)
- 1/2 cup cocoa powder
- 1 tsp vanilla extract
- Pinch of salt
- 1/4 cup coconut oil
- 1/3 cup cocoa powder (for topping)
- 1/4 tsp vanilla extract (for topping)
- 2 tbsp maple syrup
Instructions
- Step 1: Line an 8×8-inch pan with parchment paper and set aside. Alternatively, you can use a mini silicone muffin pan for bite-sized brownies.
- Step 2: In a food processor, pulse the 2 cups of walnuts, pitted medjool dates, 1/2 cup cocoa powder, 1 teaspoon vanilla extract, and a pinch of salt until a sticky dough forms. Scrape down the sides as needed to ensure even mixing.
- Step 3: If you want walnut chunks in your brownies, add the optional 1/3 cup walnuts now and pulse just a few times to gently incorporate them without breaking them down completely.
- Step 4: Press the mixture firmly into the prepared pan, smoothing the top with your hands or a spatula. For mini muffin pans, press a spoonful of the mixture into each well and flatten the tops.
- Step 5: Melt the coconut oil with 1/3 cup cocoa powder, 1/4 teaspoon vanilla extract, and 2 tablespoons maple syrup in the microwave or over a double boiler until smooth. Pour this melted chocolate over the brownie base and spread evenly.
- Step 6: Place the brownies in the fridge or freezer for at least 1 hour to set completely.
- Step 7: Once set, remove from the pan and slice into squares, or pop the mini brownies out of the muffin pan.
Tips & Variations
- For an extra nutty texture, lightly toast the walnuts before processing for deeper flavor.
- Swap medjool dates with dried apricots or figs for a different natural sweetness.
- Add a pinch of cayenne pepper to the topping for a spicy kick.
- Mix in a handful of shredded coconut or vegan chocolate chips to the batter for extra texture.
Storage
Store the brownies in an airtight container in the refrigerator for up to 1 week. For longer storage, keep them in the freezer for up to 3 months. Let frozen brownies thaw in the fridge or at room temperature before serving for the best texture.
How to Serve
Serve this delicious recipe with your favorite sides.
FAQs
Can I use other nuts besides walnuts?
Yes, almonds, pecans, or cashews can be substituted, but walnuts offer a great balance of flavor and texture for these brownies.
Are these brownies vegan and gluten-free?
Absolutely! These brownies are naturally vegan, gluten-free, and refined sugar-free since they rely on whole food ingredients like dates and nuts for sweetness and binding.
PrintRaw Chocolate Brownies Recipe
These Raw Chocolate Brownies are a delicious, no-bake treat made from wholesome ingredients like raw walnuts, medjool dates, and cocoa powder. Perfect for a healthy dessert or snack, they are naturally sweetened and packed with rich chocolate flavor. The brownies are easy to make using a food processor and require chilling to set, making them an ideal choice for a quick, nutritious indulgence.
- Prep Time: 15 minutes
- Cook Time: 0 minutes
- Total Time: 1 hour 15 minutes
- Yield: 16 brownies (8×8-inch pan) or about 24 mini brownies 1x
- Category: Dessert
- Method: No-Cook
- Cuisine: American
- Diet: Vegan
Ingredients
Base
- 2 cups raw unsalted walnuts
- 2 cups packed pitted medjool dates
- 1/2 cup cocoa powder
- 1 tsp vanilla extract
- pinch of salt
- 1/3 cup walnuts (optional, for walnut chunks)
Chocolate Topping
- 1/4 cup coconut oil
- 1/3 cup cocoa powder
- 1/4 tsp vanilla extract
- 2 tbsp maple syrup
Instructions
- Prepare the pan: Line an 8×8-inch pan with parchment paper for easy removal later. Alternatively, you can use a mini silicone muffin pan if you prefer bite-size brownies.
- Make the brownie base: In a food processor, pulse the 2 cups of walnuts, 2 cups of medjool dates, 1/2 cup cocoa powder, 1 tsp vanilla extract, and a pinch of salt until a sticky dough forms. Scrape down the sides as needed to ensure even blending. For added texture, add the optional 1/3 cup of walnuts and pulse a few more times.
- Press the mixture: Firmly press the sticky dough into the prepared pan, smoothing the top with your hands or a spatula. If using a mini muffin pan, press spoonfuls into each well and flatten the tops.
- Prepare the chocolate topping: Gently melt the coconut oil with cocoa powder, vanilla extract, and maple syrup in the microwave or over a double boiler until smooth and combined.
- Add the topping: Pour the melted chocolate mixture evenly over the pressed brownie base, spreading with a spatula to cover all edges.
- Chill to set: Transfer the pan to the refrigerator or freezer and chill for at least 1 hour to allow the brownies to firm up.
- Serve and store: After chilling, remove the brownies from the pan and slice into squares or pop the mini brownies out of the muffin pan. Store leftovers in the fridge for up to 1 week or freeze for up to 3 months.
Notes
- Using medjool dates ensures sweetness and binding; if dates are dry, soak them briefly in warm water before processing.
- For chunkier brownies, don’t over-process the optional walnuts.
- Coconut oil helps the chocolate topping set firmly when chilled; avoid skipping it for best results.
- Brownies are best stored in an airtight container to maintain freshness.
- Feel free to customize with additional flavors like espresso powder or chili flakes for a unique twist.
Keywords: raw chocolate brownies, no bake brownies, vegan brownies, healthy chocolate dessert, date brownies, walnut brownies