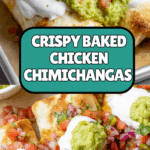
Baked Chicken Chimichanga Recipe
If you have ever craved a Mexican-inspired feast that combines crispy textures with rich, flavorful fillings, then this Baked Chicken Chimichanga recipe is about to become your new favorite. Unlike the traditional deep-fried versions, these chimichangas are baked to perfection, delivering that irresistible golden-brown crunch while keeping things lighter and easier to prepare. Each bite bursts with seasoned shredded chicken, creamy refried beans, zesty salsa, and gooey melted cheese wrapped snugly in soft flour tortillas. Whether it’s a weeknight dinner or a casual gathering, this dish offers a comforting and crowd-pleasing meal that’s as fun to make as it is to eat.
Ingredients You’ll Need
Gathering simple yet well-balanced ingredients is key to nailing this dish. Each component enhances the texture and flavor profile, making sure every chimichanga is deliciously satisfying from the first bite to the last.
- Cooked shredded chicken: The star protein that provides tender, flavorful meat as the base of the filling.
- Refried beans: Add a creamy, hearty layer that complements the chicken perfectly.
- Salsa: Use your favorite salsa to inject freshness, acidity, and spice into the mix.
- Coriander (optional): Offers a subtle herby note that brightens the filling without overwhelming it.
- Chili powder: Essential for giving the dish that signature smoky, mildly spicy kick.
- Shredded cheese (cheddar or Mexican blend): Melts beautifully to bind the filling and add richness.
- Green onions: Bring a crunchy, fresh bite to balance the creaminess.
- Jalapeños: Diced with seeds to taste, they kick up the heat as desired.
- Butter (melted): Brushed on top to help achieve that perfectly crisp and golden crust.
- Large flour tortillas: The sturdy vessel that holds it all together while baking.
How to Make Baked Chicken Chimichanga
Step 1: Preheat and Prepare Your Filling
Start by preheating your oven to 400 degrees Fahrenheit to ensure it’s nice and hot when you’re ready to bake. Then, combine the cooked shredded chicken, refried beans, salsa, coriander if using, chili powder, shredded cheese, chopped green onions, and diced jalapeños in a large bowl. Mixing these ingredients well ensures every chimichanga will be loaded with flavor in each bite.
Step 2: Assemble the Chimichangas
Lay out your flour tortillas and spoon a generous amount of the filling into the center of each one. To fold, bring the bottom edge up over the filling, then tuck the sides in before rolling it tightly like a burrito. This technique locks in the delicious filling so none escapes while baking. Just be careful not to overfill – a compact roll bakes more evenly and crisps up beautifully.
Step 3: Bake to Crispy Perfection
Place the assembled chimichangas seam-side down on a large baking sheet to keep them securely closed. Brush the tops liberally with melted butter; this step is key for giving the tortillas that beautiful golden color and irresistible crunch. Bake for 15 minutes, then carefully flip each chimichanga and bake for another 10 minutes until they are crisp, bubbly, and perfectly toasted on all sides.
Step 4: Rest and Serve
Remove the chimichangas from the oven and let them cool for about 5 to 10 minutes. This pause lets the filling set slightly, making them easier to handle and enhancing the eating experience. Then, get ready to enjoy the warm, melty, and savory goodness you’ve created!
How to Serve Baked Chicken Chimichanga
Garnishes
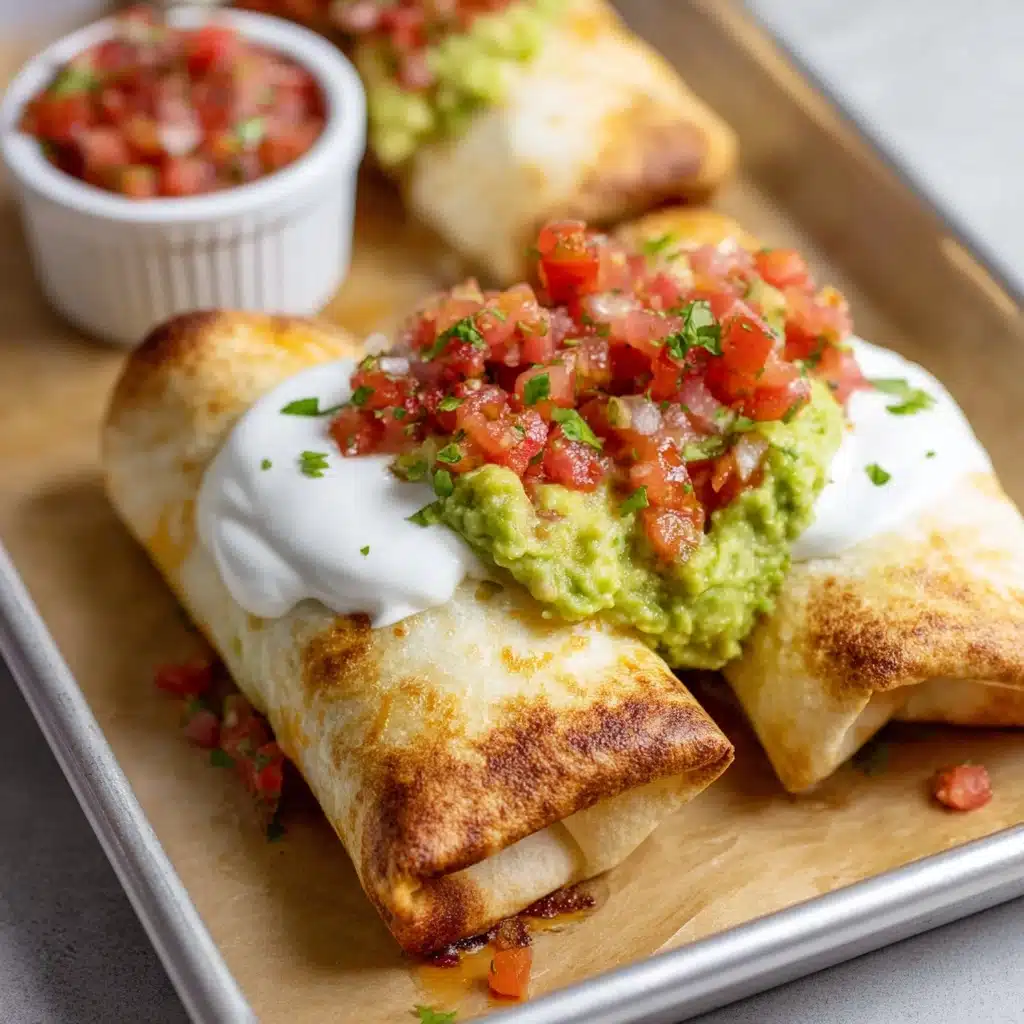
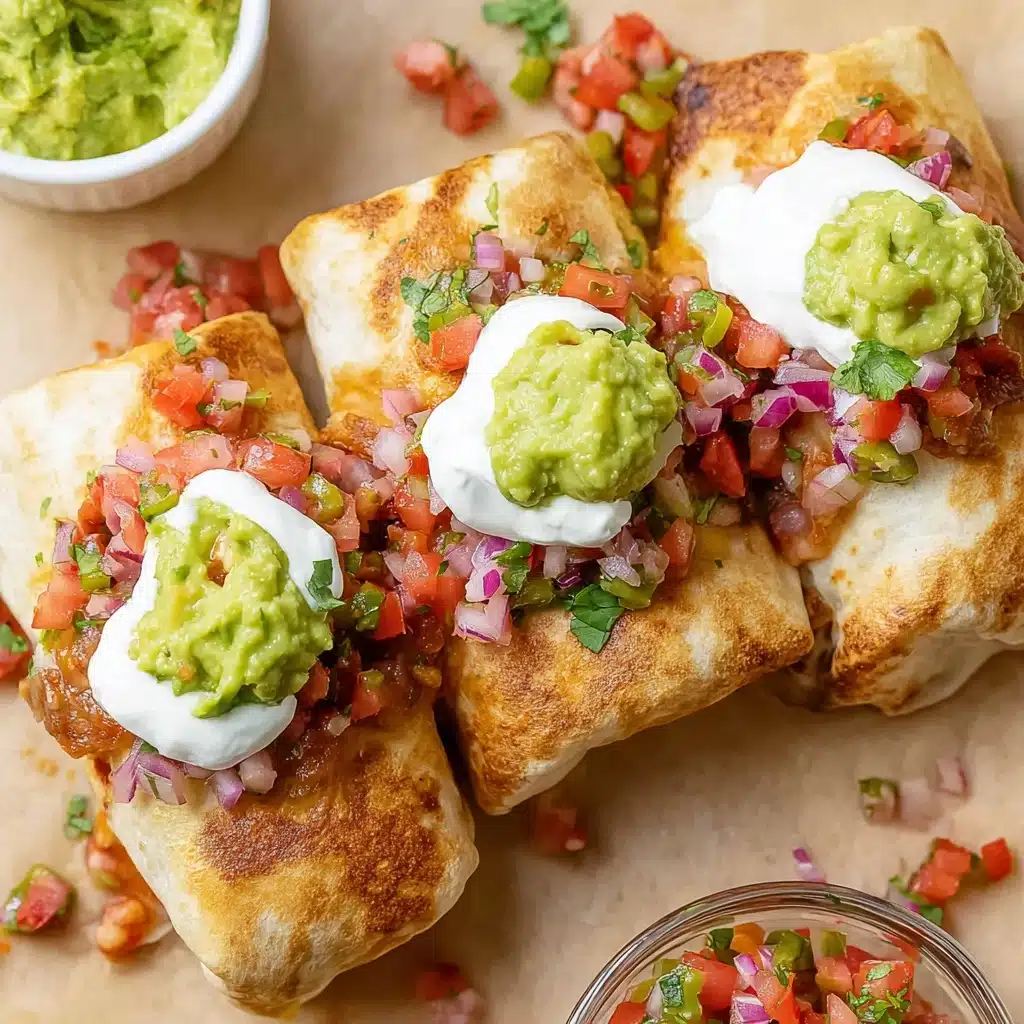
Enhance your Baked Chicken Chimichanga with fresh and creamy garnishes. Dollops of sour cream add cooling richness, while guacamole brings creamy texture and fresh avocado flavor. Don’t forget the classic salsa or a spoonful of pico de gallo for an extra pop of zing and color.
Side Dishes
This hearty main pairs beautifully with simple sides like a crisp green salad with lime vinaigrette, Mexican rice, or black beans. These accompaniments not only complement the vibrant spices but also round out the meal with added nutrition and texture contrasts.
Creative Ways to Present
For a festive twist, slice the chimichangas into smaller pieces and serve them on a platter as finger food. Top with chopped cilantro, shredded lettuce, and a sprinkle of queso fresco for a visually stunning presentation that’s perfect for sharing. You could also drizzle with a bit of hot sauce or a creamy chipotle mayo for extra indulgence.
Make Ahead and Storage
Storing Leftovers
If you have any Baked Chicken Chimichanga leftovers, store them in an airtight container in the refrigerator. They will stay fresh for up to 3 days, making it easy to enjoy this flavorful dish again without re-cooking from scratch.
Freezing
To freeze, wrap individual chimichangas tightly in plastic wrap or foil and place them in a freezer-safe bag or container. Frozen chimichangas can last up to 2 months. Just thaw overnight in the fridge before reheating for the best texture and taste.
Reheating
To reheat, place the chimichanga on a baking sheet in a 350-degree Fahrenheit oven for about 15 minutes or until heated through and crispy again. Avoid microwaving if possible, as it tends to soften the tortilla and lose the crispness that makes this dish so delicious.
FAQs
Can I use rotisserie chicken for this recipe?
Absolutely! Rotisserie chicken is a fantastic shortcut that works perfectly for the shredded chicken base, saving you time without sacrificing flavor.
Is it necessary to use refried beans?
While refried beans add creaminess and a traditional touch, you can substitute with black beans or pinto beans if you prefer a different texture or want to lighten up the filling.
Can I make this recipe spicy or mild?
Definitely! Adjust the amount of jalapeños and chili powder to suit your heat tolerance. Removing seeds from jalapeños reduces heat, and you can always add hot sauce on the side for those who like it spicy.
Can I freeze the chimichangas before baking?
Yes, you can freeze them after assembling but before baking. Just wrap tightly and freeze. When ready to cook, bake them straight from the freezer, adding a few extra minutes to the baking time.
What kind of cheese is best for these chimichangas?
Cheddar and Mexican cheese blends melt well and offer great flavor, but feel free to use Monterey Jack, Pepper Jack, or even a mild mozzarella depending on your preference.
Final Thoughts
The Baked Chicken Chimichanga is truly a crowd-pleaser that brings all your favorite Mexican flavors into one easy, wholesome dish. Its golden crust and savory filling make dinner feel like a celebration any day of the week. I can’t wait for you to try making this at home — it might just become your go-to recipe for satisfying those cravings while keeping things simple and delicious.
PrintBaked Chicken Chimichanga Recipe

This Baked Chicken Chimichanga recipe offers a delicious, crispy twist on the classic fried version by baking the chimichangas to golden perfection. Packed with a flavorful mix of shredded chicken, refried beans, salsa, cheese, and spices, these chimichangas are easy to prepare and perfect for a satisfying meal. Baked instead of fried, they provide a healthier alternative without compromising on taste.
- Prep Time: 15 minutes
- Cook Time: 25 minutes
- Total Time: 40 minutes
- Yield: 6–8 chimichangas 1x
- Category: Main Course
- Method: Baking
- Cuisine: Mexican
- Diet: Halal
Ingredients
Filling
- 2 cups cooked shredded chicken
- 1 1/3 cup refried beans
- 1 1/3 cup salsa (your favorite kind)
- 2 teaspoon coriander (optional)
- 1 tablespoon chili powder
- 1 cup shredded cheese (cheddar or Mexican blend)
- 6 green onions, chopped
- 2–3 jalapeños, diced with seeds (adjust to your spice preference)
Assembly
- 6–8 large taco-sized flour tortillas (8 inches)
- 3 tablespoons butter, melted
Instructions
- Preheat the oven: Set your oven to 400°F (200°C) to prepare for baking the chimichangas to a crispy texture.
- Mix the filling: In a large bowl, combine the cooked shredded chicken, refried beans, salsa, coriander, chili powder, shredded cheese, chopped green onions, and diced jalapeños. Stir until all ingredients are well incorporated.
- Assemble the chimichangas: Lay out each flour tortilla and spread an even layer of the filling mixture in the center. Fold the bottom edge of the tortilla up over the filling first, then fold in the sides and roll tightly from bottom to top to form a burrito shape. Avoid overfilling to prevent tearing.
- Prepare for baking: Place the chimichangas seam-side down on a large baking sheet to keep them sealed. Brush the tops generously with melted butter to help achieve a golden, crispy crust during baking.
- Bake the chimichangas: Bake in the preheated oven for 15 minutes, then carefully flip each chimichanga over and bake an additional 10 minutes until both sides are golden brown and crispy.
- Cool and serve: Allow the chimichangas to cool for 5-10 minutes after baking. Serve warm with optional toppings like sour cream, guacamole, salsa, or pico de gallo for added flavor.
Notes
- Adjust jalapeño quantity and seeds according to your preferred spice level.
- Ensure tortillas are fresh and flexible to avoid cracking when rolling.
- For a crispier texture, brush butter generously and consider using a wire rack on the baking sheet.
- Can be prepared in advance and refrigerated before baking.
- Serve with sides like Mexican rice or a fresh salad for a complete meal.
Nutrition
- Serving Size: 1 chimichanga
- Calories: 350 kcal
- Sugar: 3 g
- Sodium: 600 mg
- Fat: 15 g
- Saturated Fat: 7 g
- Unsaturated Fat: 6 g
- Trans Fat: 0 g
- Carbohydrates: 30 g
- Fiber: 5 g
- Protein: 24 g
- Cholesterol: 55 mg
Keywords: baked chicken chimichanga, baked chimichangas, chicken burrito, Mexican baked recipe, easy chicken chimichanga