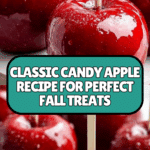
Candy Apple Recipe
Introduction
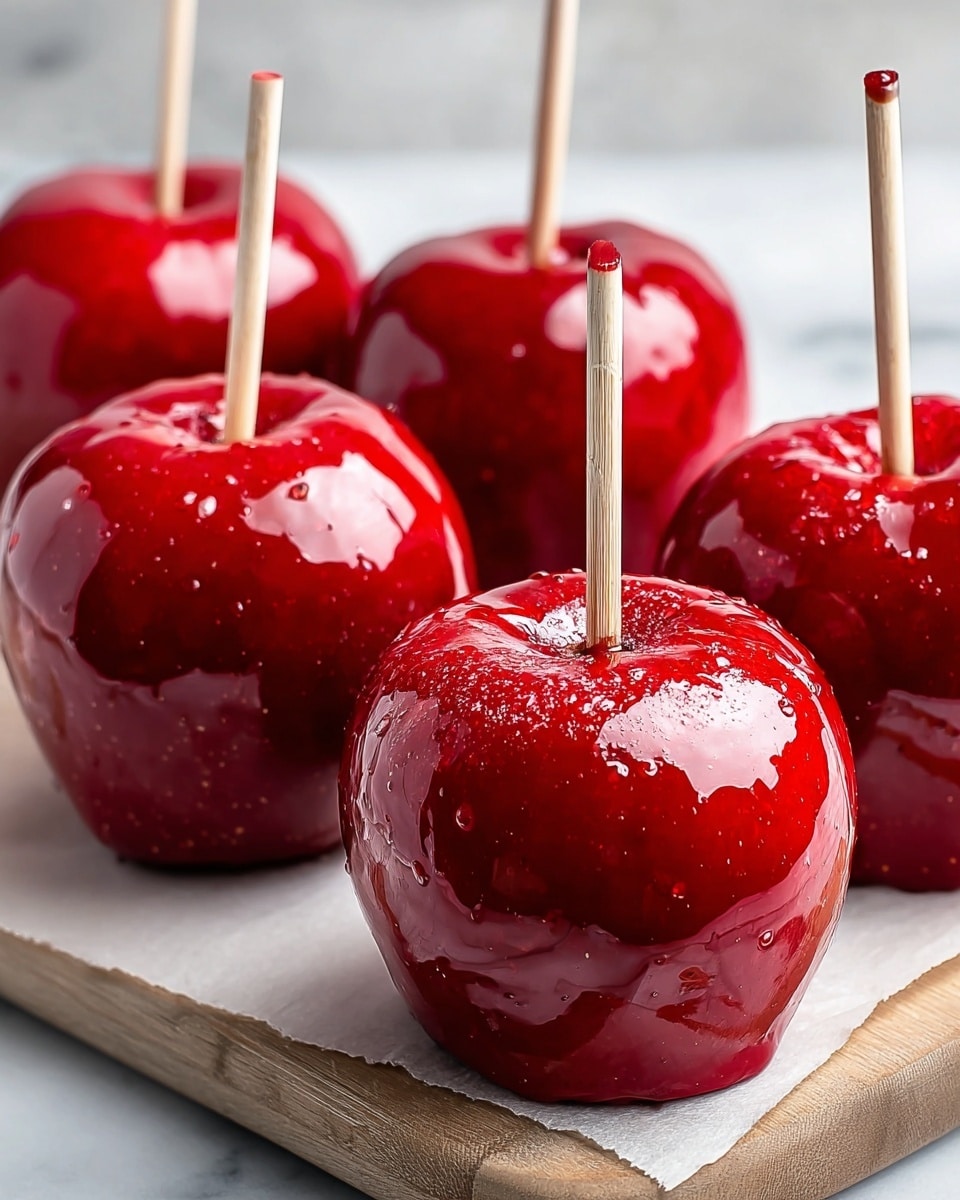
Candy apples are a timeless treat perfect for festive occasions or a fun homemade snack. With a shiny, crunchy candy coating enveloping crisp apples, they are as delightful to make as they are to eat.
Ingredients
- 1 cup light corn syrup
- 1½ cups water
- 2 cups white sugar
- 8 drops red food coloring
- 15 medium apples, washed and dried
- 15 craft sticks
- cooking spray
Instructions
- Step 1: Lightly grease your cookie sheets with cooking spray and insert craft sticks into the stems of the washed and dried apples.
- Step 2: In a medium saucepan, combine the sugar, water, and corn syrup over medium-high heat.
- Step 3: Bring the mixture to a boil, then insert a candy thermometer to monitor the temperature.
- Step 4: Continue boiling the syrup without stirring until it reaches 300 to 310°F (149 to 154°C), the hard crack stage.
- Step 5: Test by dropping a small amount into cold water; it should form hard, brittle threads.
- Step 6: Remove the saucepan from heat and stir in the red food coloring.
- Step 7: Holding each apple by its stick, carefully dip it into the hot syrup, turning to coat evenly.
- Step 8: Place the coated apples on the prepared cookie sheets and allow the candy coating to harden completely.
Tips & Variations
- Use tart apples like Granny Smith for a nice balance of sweet and sour.
- To add extra flavor, sprinkle chopped nuts or edible glitter on the candy coating before it hardens.
- If you don’t have a candy thermometer, cooking the syrup until it forms a hard crack in cold water is key for perfect texture.
- Try different food coloring drops or add flavor extracts for colorful and unique candy apples.
Storage
Store candy apples at room temperature in a single layer to prevent sticking, ideally on wax paper or parchment. They are best enjoyed within 1-2 days for crispiness. Avoid refrigeration, as moisture can soften the candy shell. If the coating softens, let them sit at room temperature to dry out again.
How to Serve
Serve this delicious recipe with your favorite sides.
FAQs
Can I use other types of apples?
Yes, you can use any firm, crisp apples like Fuji or Honeycrisp, but tart varieties such as Granny Smith usually pair best with the sweet candy coating.
What if my candy coating is sticky after it hardens?
Sticky candy apple coatings often result from humid conditions. Store them in a cool, dry place and try to keep moisture away. Allowing them to sit at room temperature for a while can also help remove stickiness.
PrintCandy Apple Recipe
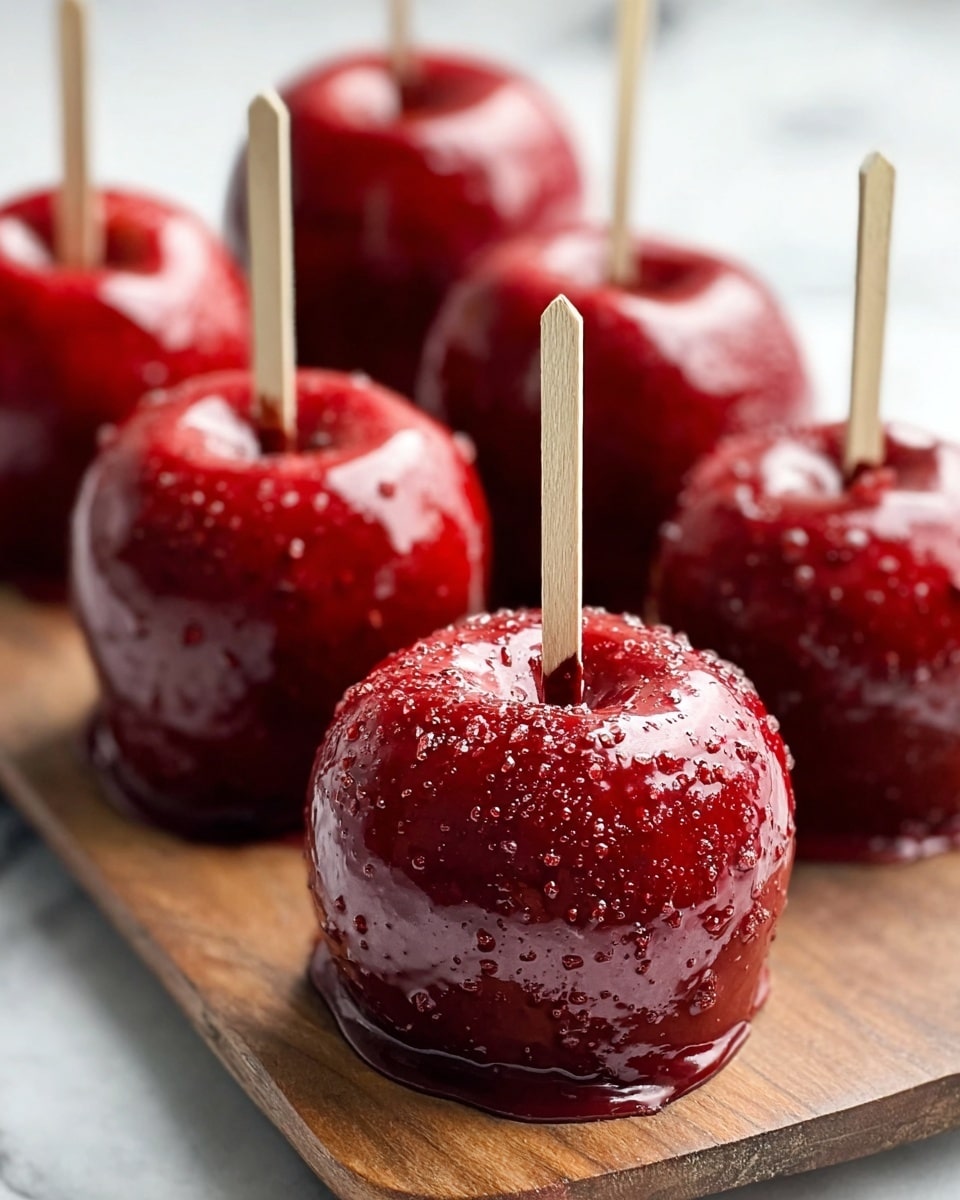
This classic Candy Apple recipe features crisp apples coated in a glossy, hard candy shell made from sugar, corn syrup, and water, tinted bright red for a festive touch. Perfect for autumn celebrations, Halloween, or any time you want a nostalgic sweet treat with a satisfying crunch.
- Prep Time: 15 minutes
- Cook Time: 15 minutes
- Total Time: 30 minutes
- Yield: 15 candy apples 1x
- Category: Dessert
- Method: Stovetop
- Cuisine: American
Ingredients
For Candy Coating
- 1 cup light corn syrup
- 1½ cups water
- 2 cups white sugar
- 8 drops red food coloring
For Apples
- 15 medium apples, washed and dried
- 15 craft sticks
- Cooking spray
Instructions
- Prepare Apples: Lightly grease your cookie sheets with cooking spray to prevent sticking. Insert a craft stick firmly into the stem end of each washed and dried apple, creating a handle for dipping.
- Combine Ingredients: In a medium saucepan, combine the sugar, water, and light corn syrup. Place the pan over medium-high heat and stir gently to dissolve the sugar.
- Bring to Boil: Allow the mixture to reach a rolling boil without stirring. Attach a candy thermometer to the side of the pan to monitor the temperature accurately.
- Cook to Hard Crack Stage: Boil the syrup until it reaches between 300°F and 310°F (149°C to 154°C). This is the hard crack stage when a small drop of syrup placed in cold water forms brittle threads.
- Remove from Heat and Add Color: Carefully remove the pan from heat and add 8 drops of red food coloring, stirring gently to incorporate evenly into the hot syrup.
- Dip the Apples: Holding each apple by its stick, dip it into the hot candy syrup. Turn the apple to coat it evenly with the glossy candy mixture.
- Cool and Harden: Place the coated apples onto the prepared cookie sheets. Let them sit at room temperature until the hard candy shell fully hardens and sets, about 30 minutes.
Notes
- Use medium-sized apples for best coating and handling.
- Ensure apples are completely dry before dipping to help candy adhere.
- Do not stir the syrup once it starts boiling to avoid crystallization.
- Have a damp cloth handy to wipe any sugar crystals off the sides of the pan.
- Use a candy thermometer for accurate temperature to ensure proper candy texture.
- Handle hot syrup carefully to avoid burns.
- Store candy apples in a cool, dry place and consume within 2 days for best freshness.
Keywords: Candy Apples, Halloween Treat, Hard Candy Coating, Fall Dessert, Classic Candy Apple Recipe