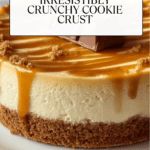
Creamy No-Bake Biscoff Cheesecake with Crunchy Cookie Crust Recipe
Introduction
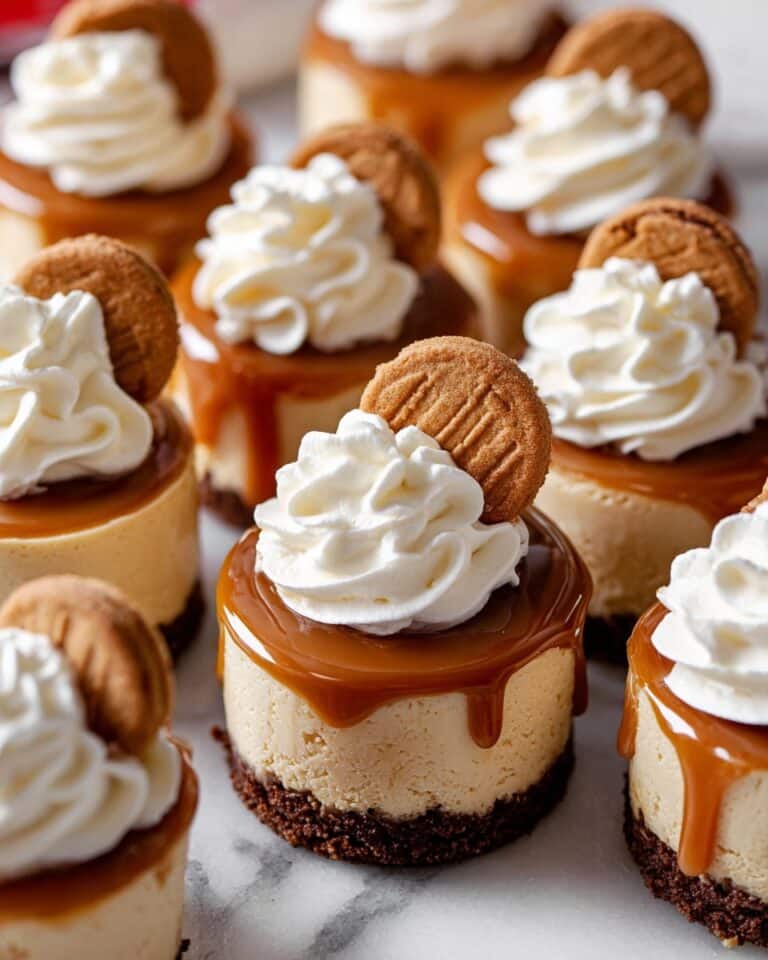
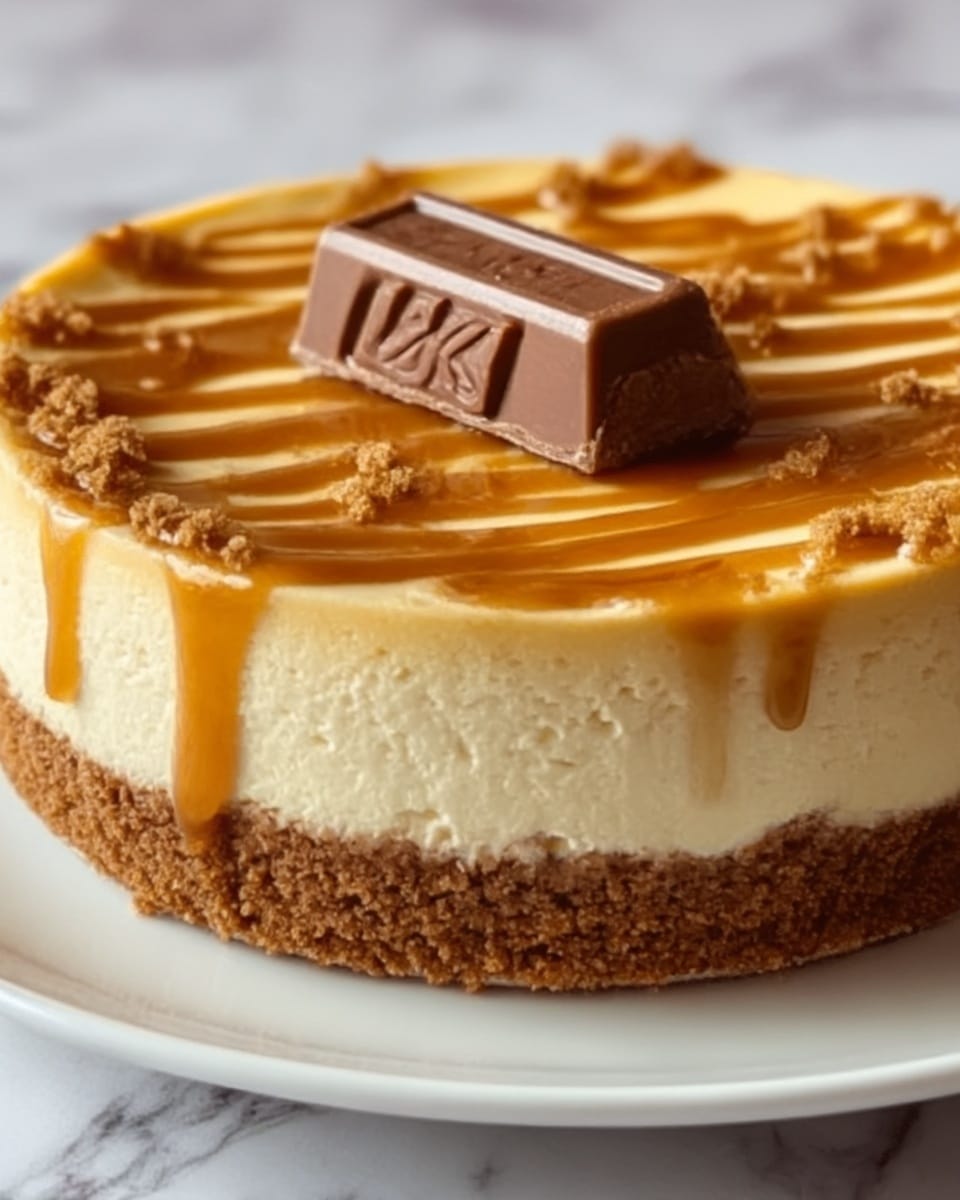
This Creamy No Bake Biscoff Cheesecake combines the rich, spiced flavor of Biscoff cookies with a smooth and fluffy cream cheese filling. With a crunchy cookie crust and a luscious filling, it’s a simple yet indulgent dessert perfect for any occasion.
Ingredients
- 200g (7oz) Biscoff cookies
- 6 tbsp (85g) unsalted butter, melted
- 16 oz (450g) cream cheese, softened
- 1 cup (250g) Biscoff spread
- 1 cup (240ml) heavy cream, cold
- 3/4 cup (90g) powdered sugar
- 1 tsp vanilla extract
Instructions
- Step 1: Crush the Biscoff cookies into fine crumbs by placing them inside a ziplock bag and rolling over them with a rolling pin.
- Step 2: Combine the cookie crumbs with melted unsalted butter until the mixture resembles wet sand.
- Step 3: Press the crust mixture firmly into the bottom of a 9-inch springform pan and refrigerate while you prepare the filling.
- Step 4: Beat the softened cream cheese until smooth and creamy, about 2 minutes.
- Step 5: Add the Biscoff spread and powdered sugar to the cream cheese and mix until silky and well combined.
- Step 6: In a separate bowl, whip the cold heavy cream together with vanilla extract until soft peaks form.
- Step 7: Gently fold the whipped cream into the cream cheese mixture to keep it light and fluffy.
- Step 8: Pour the filling over the chilled cookie crust, smoothing the top with a spatula.
- Step 9: Cover the cheesecake with plastic wrap and refrigerate for at least 4 hours, or overnight for best results.
- Step 10: Before serving, run a warm knife around the edges, unlock the springform pan, slice, and optionally drizzle extra Biscoff spread or garnish with crushed cookies.
Tips & Variations
- For an extra crunchy crust, try mixing in some chopped nuts with the cookie crumbs.
- You can substitute regular cream cheese with a light version for a lower-fat cheesecake.
- If Biscoff spread is unavailable, try using creamy peanut butter for a different flavor twist.
- Chilling the heavy cream before whipping helps achieve better volume and texture.
Storage
Store the cheesecake covered in the refrigerator for up to 3 days. It’s best enjoyed chilled but can be allowed to sit at room temperature for 10-15 minutes before serving for a creamier texture. Leftovers should not be frozen, as the texture will change upon thawing.
How to Serve
Serve this delicious recipe with your favorite sides.
FAQs
Can I make this cheesecake ahead of time?
Yes, this cheesecake can be made a day in advance and refrigerated. In fact, chilling it overnight helps the flavors meld and the texture set perfectly.
Do I need a stand mixer to make the filling?
No, a hand mixer or even vigorous whisking by hand can work to beat the cream cheese and whip the cream, although a stand mixer will make the process easier and quicker.
PrintCreamy No-Bake Biscoff Cheesecake with Crunchy Cookie Crust Recipe

This creamy no-bake Biscoff cheesecake features a crunchy cookie crust made from crushed Biscoff cookies and a luscious, airy filling infused with Biscoff spread. Easy to prepare, it requires no oven baking and is perfect for a delicious dessert that combines rich flavors and smooth textures.
- Prep Time: 20 minutes
- Cook Time: 0 minutes
- Total Time: 4 hours 20 minutes (including chilling time)
- Yield: 8 servings 1x
- Category: Dessert
- Method: No-Cook
- Cuisine: American
Ingredients
Crust
- 200g (7oz) Biscoff cookies
- 6 tbsp (85g) unsalted butter, melted
Filling
- 16 oz (450g) cream cheese, softened
- 1 cup (250g) Biscoff spread
- 1 cup (240ml) heavy cream, cold
- 3/4 cup (90g) powdered sugar
- 1 tsp vanilla extract
Instructions
- Prepare the crust: Crush 200g (7oz) of Biscoff cookies into fine crumbs using a rolling pin inside a ziplock bag. Mix these crumbs with 6 tbsp (85g) of melted unsalted butter until the mixture resembles wet sand.
- Form the crust: Press the crumb and butter mixture firmly into the bottom of a 9-inch springform pan. Refrigerate this crust while you prepare the filling to help it set and stay firm.
- Make the cream cheese base: Beat 16 oz (450g) of softened cream cheese until smooth and creamy, which should take about 2 minutes using an electric mixer.
- Add Biscoff spread and sugar: Incorporate 1 cup (250g) of Biscoff spread and 3/4 cup (90g) of powdered sugar into the cream cheese. Mix until the combination is silky smooth without lumps.
- Whip heavy cream: In a separate bowl, whip 1 cup (240ml) of cold heavy cream along with 1 teaspoon of vanilla extract until soft peaks form, ensuring a light and airy texture.
- Combine mixtures: Gently fold the whipped cream into the cream cheese and Biscoff mixture slowly and carefully to maintain the fluffiness of the filling.
- Assemble the cheesecake: Pour the creamy filling over the chilled cookie crust and smooth the top evenly with a spatula.
- Chill: Cover the cheesecake with plastic wrap and refrigerate for at least 4 hours, preferably overnight, to allow the cheesecake to fully set and develop flavors.
- Serve: Before serving, run a warm knife around the edges of the springform pan to loosen the cheesecake. Unlock the springform pan and slice. Optionally, drizzle extra Biscoff spread or garnish with crushed Biscoff cookies for added texture and presentation.
Notes
- Ensure the cream cheese is softened to room temperature for smooth mixing.
- Use cold heavy cream to achieve better whipping results and fluffier texture.
- Refrigerate the crust well before adding the filling to prevent sogginess.
- The cheesecake is best served chilled and can be stored in the refrigerator for up to 3 days.
- For a firmer crust, you can briefly chill it in the freezer for 10-15 minutes before adding the filling.
Keywords: Biscoff cheesecake, no bake cheesecake, Biscoff cookie crust, creamy dessert, easy cheesecake, no oven dessert