Healthy Homemade Butterfingers Recipe
Introduction
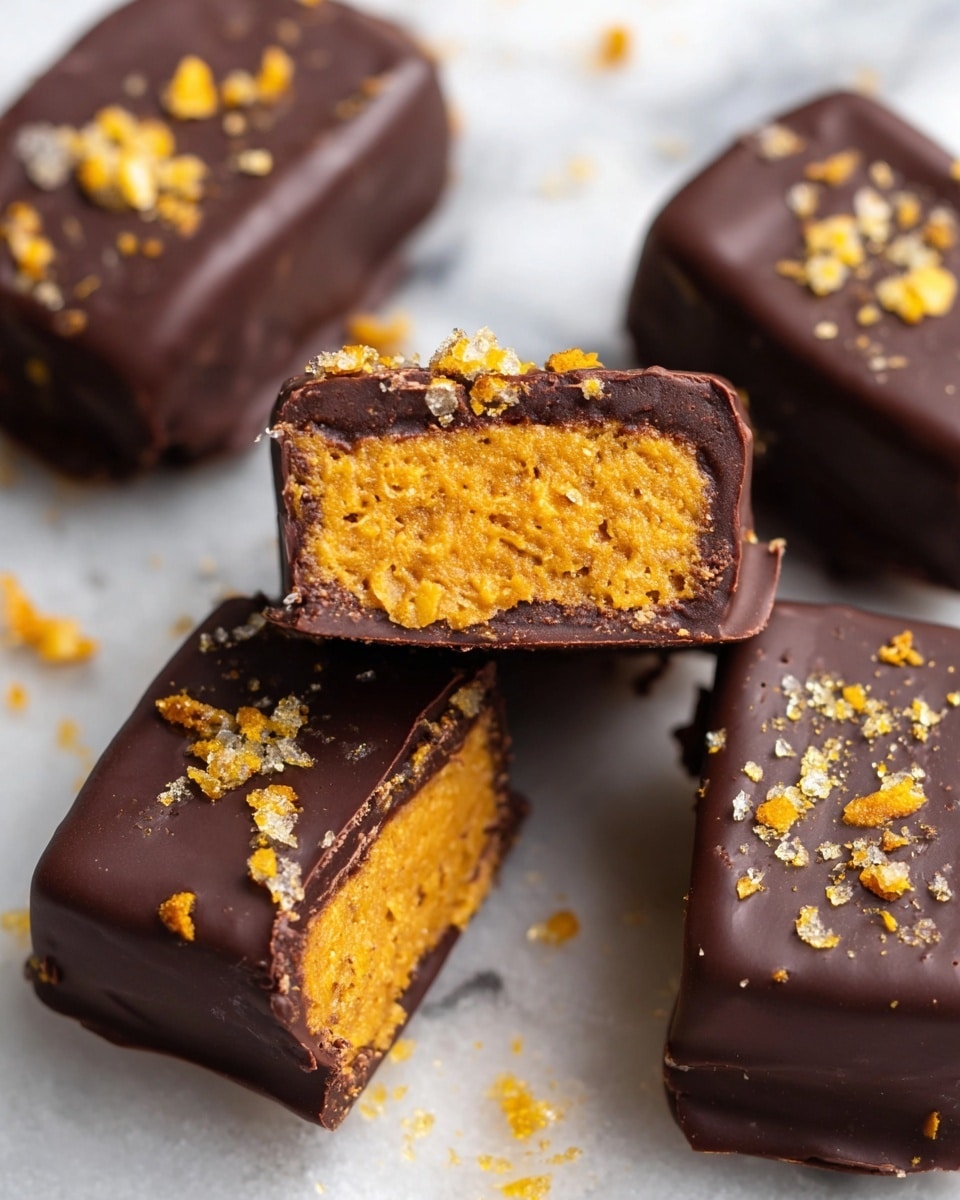
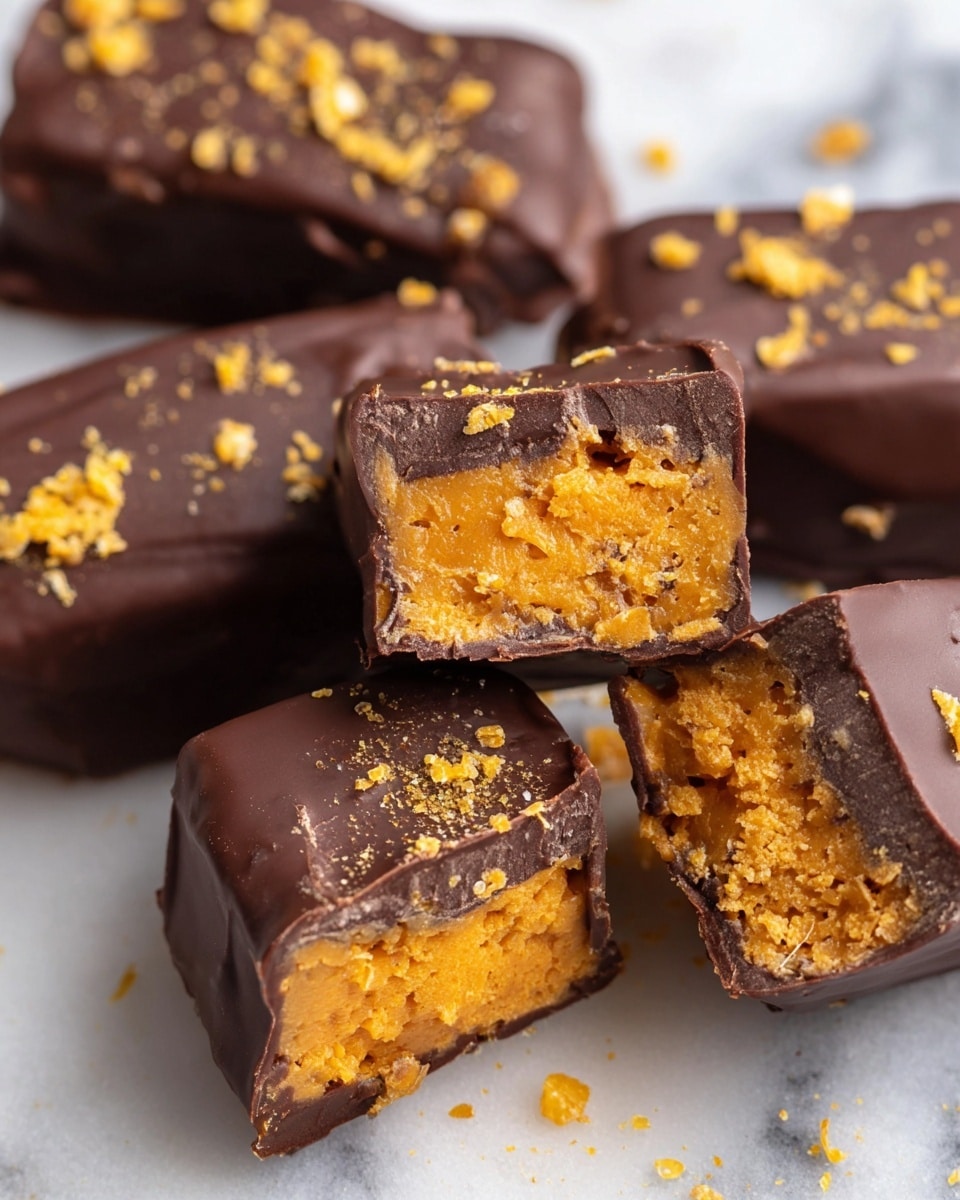
These healthy homemade Butterfingers are a delightful twist on a classic candy bar, made with just five simple ingredients. Naturally sweetened and free from gluten and dairy, they offer a satisfying crunch and rich chocolate coating that’s perfect for a guilt-free treat.
Ingredients
- 1 cup peanut butter
- 1/3 cup maple syrup or honey
- 2 cups corn flakes
- 1 cup chocolate chips
- 2 teaspoons coconut oil
Instructions
- Step 1: Place the corn flakes into a large zip-top bag, seal it, and crush the cereal into small pieces using your hands or a rolling pin.
- Step 2: In a large bowl, combine the peanut butter and maple syrup or honey, stirring until smooth. Add the crushed corn flakes, mixing gently until everything is evenly combined.
- Step 3: Line a 9×4-inch loaf pan with parchment paper. Transfer the mixture to the pan and press it down firmly to create an even layer. Freeze the pan for at least 1 hour to set.
- Step 4: Remove the pan from the freezer and carefully lift the set mixture out using the parchment paper. Place it on a cutting board and cut into 12 bars.
- Step 5: In a small bowl, melt the chocolate chips and coconut oil together until smooth, whisking to combine. Dip each bar into the melted chocolate to coat fully, then set on a parchment-lined plate. Repeat until all bars are coated.
- Step 6: Return the coated bars to the freezer for about 10 minutes or until the chocolate hardens. Enjoy immediately or store in the freezer.
Tips & Variations
- For a vegan version, use maple syrup instead of honey and choose dairy-free chocolate chips.
- To keep it nut-free, substitute peanut butter with sunflower seed butter.
- Use gluten-free corn flakes to maintain the recipe’s gluten-free status.
- Dark chocolate chips add a richer flavor and reduce sugar content.
- Press the mixture firmly into the pan to ensure the bars hold together well.
Storage
Store the Butterfingers in an airtight container in the freezer for up to 3 months. When you’re ready to enjoy, simply let them sit at room temperature for a few minutes to soften slightly before eating, or enjoy them straight from the freezer for a crunchy treat.
How to Serve
Serve this delicious recipe with your favorite sides.
FAQs
Can I use another type of nut butter?
Yes, you can substitute peanut butter with almond butter, cashew butter, or sunflower seed butter to suit your taste or allergies.
Do I have to freeze the bars?
Freezing helps the bars harden and hold their shape, especially before and after coating with chocolate. Refrigeration may work but freezing gives the best texture and chocolate finish.
PrintHealthy Homemade Butterfingers Recipe

Healthy Homemade Butterfingers are a delicious, gluten-free, and dairy-free treat made with just five simple ingredients. These bars offer a nutritious alternative to traditional candy bars by using natural sweeteners like honey or maple syrup and crunchy corn flakes, all coated in smooth dark chocolate. Perfect for a quick snack or dessert, they freeze well and can be stored for up to three months.
- Prep Time: 5 minutes
- Cook Time: 0 minutes
- Total Time: 1 hour 5 minutes
- Yield: 12 bars 1x
- Category: Dessert
- Method: No-Cook
- Cuisine: American
- Diet: Gluten Free
Ingredients
Base Ingredients
- 1 cup peanut butter (natural, no added sugar)
- 1/3 cup maple syrup or honey
- 2 cups corn flakes (gluten-free if needed)
Chocolate Coating
- 1 cup chocolate chips (dark chocolate recommended)
- 2 teaspoons coconut oil
Instructions
- Crush the Corn Flakes: Place the corn flakes in a large zip-top bag, seal it tightly, and crush the cereal into small pieces using a rolling pin or your hands to create the necessary crunch.
- Mix the Base: In a large bowl, combine the peanut butter and maple syrup or honey, mixing until smooth and well blended. Then add the crushed corn flakes to this mixture and stir thoroughly to ensure everything is evenly combined.
- Shape and Freeze: Line a 9×4-inch loaf pan with parchment paper. Transfer the mixture to the pan and press down firmly to create an even layer. Place the pan in the freezer to harden for at least 1 hour.
- Cut Into Bars: Remove the loaf pan from the freezer and carefully lift out the set corn flake mixture using the parchment paper. Place it on a cutting board and cut into 12 evenly sized bars.
- Melt Chocolate and Coat Bars: In a small bowl, melt the chocolate chips together with the coconut oil, stirring until smooth. Dip each bar into the melted chocolate, coating completely, and then place them on a parchment-lined plate. Repeat until all bars are coated.
- Final Freeze and Store: Transfer the chocolate-coated bars back to the freezer for about 10 minutes to allow the chocolate to harden. Enjoy immediately or store in an airtight container in the freezer for up to 3 months.
Notes
- Use natural peanut butter without added sugar for a healthier option.
- Choose gluten-free corn flakes if following a gluten-free diet.
- For a vegan version, substitute honey with maple syrup and use dairy-free chocolate chips.
- Store bars in an airtight container in the freezer to maintain freshness.
- Substitute peanut butter with sunflower seed butter for a nut-free alternative.
- Dark chocolate is preferred to keep sugar content lower.
Keywords: healthy butterfingers, gluten free candy, dairy free dessert, peanut butter bars, natural sweeteners, homemade candy, healthy dessert, chocolate coated bars, gluten-free snack, vegan option