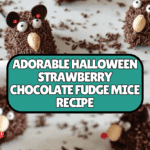
Strawberry and Chocolate Fudge Mice Recipe
Introduction
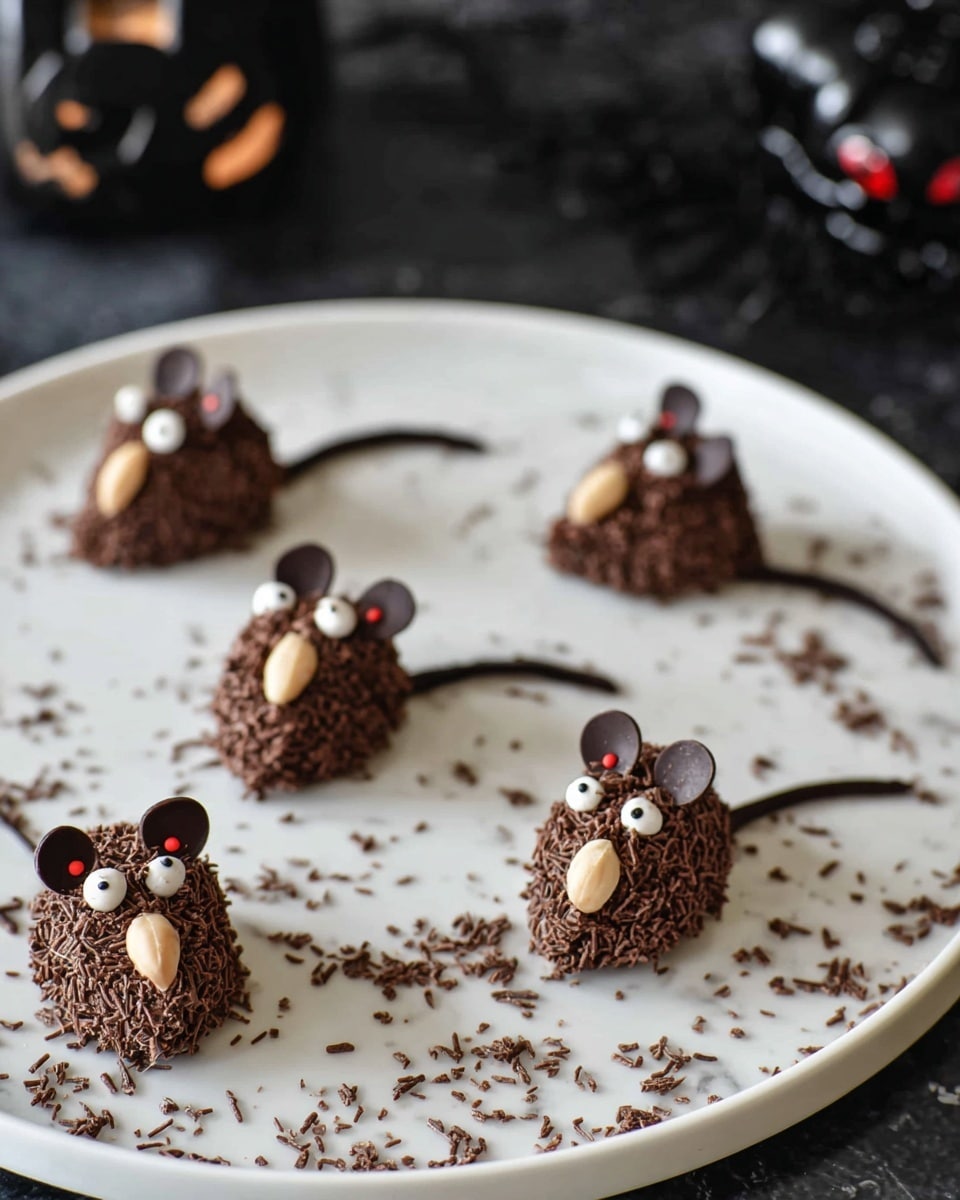
This Halloween treat combines the rich, creamy texture of chocolate fudge with fresh strawberries to create adorable little mice. They are fun to make and even more fun to eat, perfect for spooky parties or festive family gatherings.
Ingredients
- 14 oz sweetened condensed milk (1 can – 396 grams)
- 2 tbsp cocoa powder
- 1 tbsp salted butter
- 1 cup grated chocolate or chocolate sprinkles
- 20 strawberries (more or less, depending on size)
- Roasted peanuts (sliced almonds, sunflower kernels, or pine nuts also work)
- Colored shaped sprinkles
Instructions
- Step 1: Grease a plate and set it aside.
- Step 2: In a medium heavy-bottomed pan, add the sweetened condensed milk and sift the cocoa powder over it. Mix gently with a spatula until well combined, with the heat off.
- Step 3: Turn the heat to medium, add the butter, and stir constantly, scraping the bottom and sides to prevent sticking or burning.
- Step 4: When the mixture bubbles around the edges, lower the heat and continue stirring until it thickens to a consistency like thick brownie batter. The mixture should move slowly when stirred and pull away from the bottom and sides of the pan.
- Step 5: Turn off the heat and immediately transfer the fudge to the greased plate. Let it cool fully; refrigerate to speed up the process. Cooling is essential for firm shaping.
- Step 6: Wash and thoroughly dry the strawberries. Remove the leaves carefully without cutting the tops.
- Step 7: Wet your hands slightly. Take enough fudge to cover one strawberry, spread it on your palm, place the strawberry inside, and wrap the fudge around it. Roll gently between your palms to shape.
- Step 8: Roll the covered strawberry in grated chocolate or sprinkles until fully coated.
- Step 9: Shape a small portion of fudge into a tail and attach it to the rear of the strawberry mouse.
- Step 10: Split a peanut in half and attach the halves to the narrow end of the mouse’s body to form ears.
- Step 11: Place circle-shaped colored sprinkles for eyes and a small ball sprinkle at the tip of the strawberry for the nose.
- Step 12: Keep the finished mice refrigerated until ready to serve at your Halloween celebration.
Tips & Variations
- If you prefer, substitute roasted peanuts with sliced almonds or sunflower kernels for different textures and flavors.
- Use colored sprinkles that match your Halloween theme for a festive look.
- Ensure strawberries are completely dry before wrapping to help the fudge stick better.
- Chill the fudge slightly before shaping if it’s too soft to handle.
Storage
Store the strawberry and chocolate fudge mice in an airtight container in the refrigerator for up to 3 days. Allow them to come to room temperature briefly before serving for the best texture. Avoid freezing, as it can alter the fudge consistency and strawberry freshness.
How to Serve
Serve this delicious recipe with your favorite sides.
FAQs
Can I use fresh cream instead of sweetened condensed milk?
This recipe relies on the sweetness and thickness of sweetened condensed milk to create the fudge base; fresh cream won’t provide the same texture or sweetness, so it’s best to stick with condensed milk.
What if my fudge mixture is too runny to shape?
Cook it a little longer on low heat until it thickens notably. Cooling it in the fridge will also help the fudge firm up and become easier to work with.
PrintStrawberry and Chocolate Fudge Mice Recipe
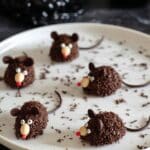
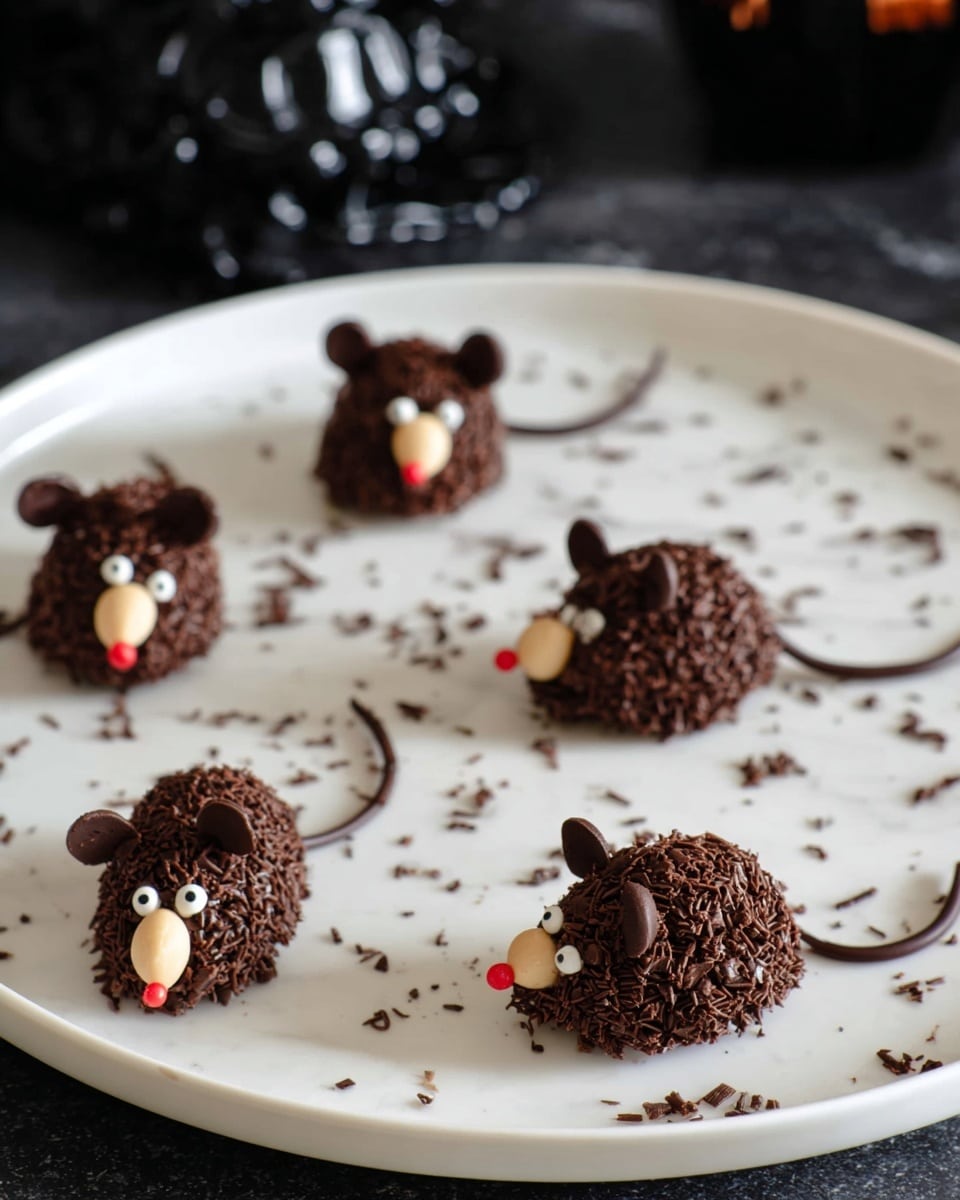
This Halloween-themed dessert features adorable strawberry and chocolate fudge mice. Soft, creamy chocolate fudge made from sweetened condensed milk and cocoa powder is wrapped around fresh strawberries, then decorated with nuts and colorful sprinkles to resemble cute mice. Perfect for a festive party treat or a fun, kid-friendly dessert.
- Prep Time: 15 minutes
- Cook Time: 15 minutes
- Total Time: 30 minutes
- Yield: 20 mice 1x
- Category: Dessert
- Method: Stovetop
- Cuisine: Brazilian
Ingredients
Chocolate Fudge (Brigadeiro)
- 14 oz (1 can – 396 grams) sweetened condensed milk
- 2 tbsp cocoa powder
- 1 tbsp salted butter
Decorations & Assembly
- 1 cup grated chocolate or chocolate sprinkles
- 20 fresh strawberries (more or less, depending on size)
- Roasted peanuts (or sliced almonds, sunflower kernels, or pine nuts)
- Colored shaped sprinkles
Instructions
- Prepare the chocolate fudge: Grease a plate and set aside for cooling. In a medium heavy-bottomed pan, combine the sweetened condensed milk and sift the cocoa powder over it. Mix until well combined with the heat off.
- Cook the fudge: Turn the heat to medium and add the butter. Stir constantly, scraping the bottom and sides of the pan to prevent sticking and burning. Once bubbling appears around the edges, lower the heat and keep stirring. When the mixture thickens to a brownie batter consistency and pulls away from the bottom when tilted, remove it from heat.
- Cool the fudge: Immediately transfer the fudge to the greased plate and allow it to cool completely. Refrigerate to speed up the process if desired. Cooling ensures the fudge has the right consistency for shaping.
- Prepare the strawberries: Wash and dry the strawberries thoroughly. Remove the leaves by hand without cutting the caps.
- Shape the fudge mice: Wet your hands slightly with water. Take enough fudge to cover one strawberry, flatten it in your palm, place the strawberry inside, and close the fudge around it. Roll gently between your palms to smooth the shape.
- Coat the fudge mice: Roll each strawberry fudge in grated chocolate or chocolate sprinkles until completely covered.
- Add tails: Shape a small amount of fudge into a tail and attach it to the back of each strawberry mouse using gentle pressure.
- Attach ears: Split roasted peanuts in half and stick them on the thinner end of the strawberry to represent ears.
- Decorate the face: Place circular shaped sprinkles as eyes and a small round sprinkle at the tip of the strawberry fudge for the nose.
- Store and serve: Keep the completed fudge mice refrigerated until ready to serve or party.
Notes
- You can substitute roasted peanuts with sliced almonds, sunflower kernels, or pine nuts for the ears.
- Ensure strawberries are well dried before assembly to help fudge stick better.
- Wet your hands slightly before handling fudge to prevent sticking.
- Refrigerate the fudge early if you want to speed up the cooling process before shaping.
- Use colored shaped sprinkles creatively to add personality to each mouse.
Keywords: Halloween dessert, chocolate fudge mice, brigadeiro, strawberry dessert, festive treats, kid-friendly dessert, chocolate strawberry treats